In Exchange 2016 and 2013 Exchange Admin Center (EAC), you will notice that you can only assign services to an individual server whereas in the legacy Exchange, Exchange 2010 you can select multiple servers.
In this tutorial we will go through importing an SSL certificate to multiple Exchange 2016 servers as well as enabling services for the certificate.
Import Certificate in the EAC:
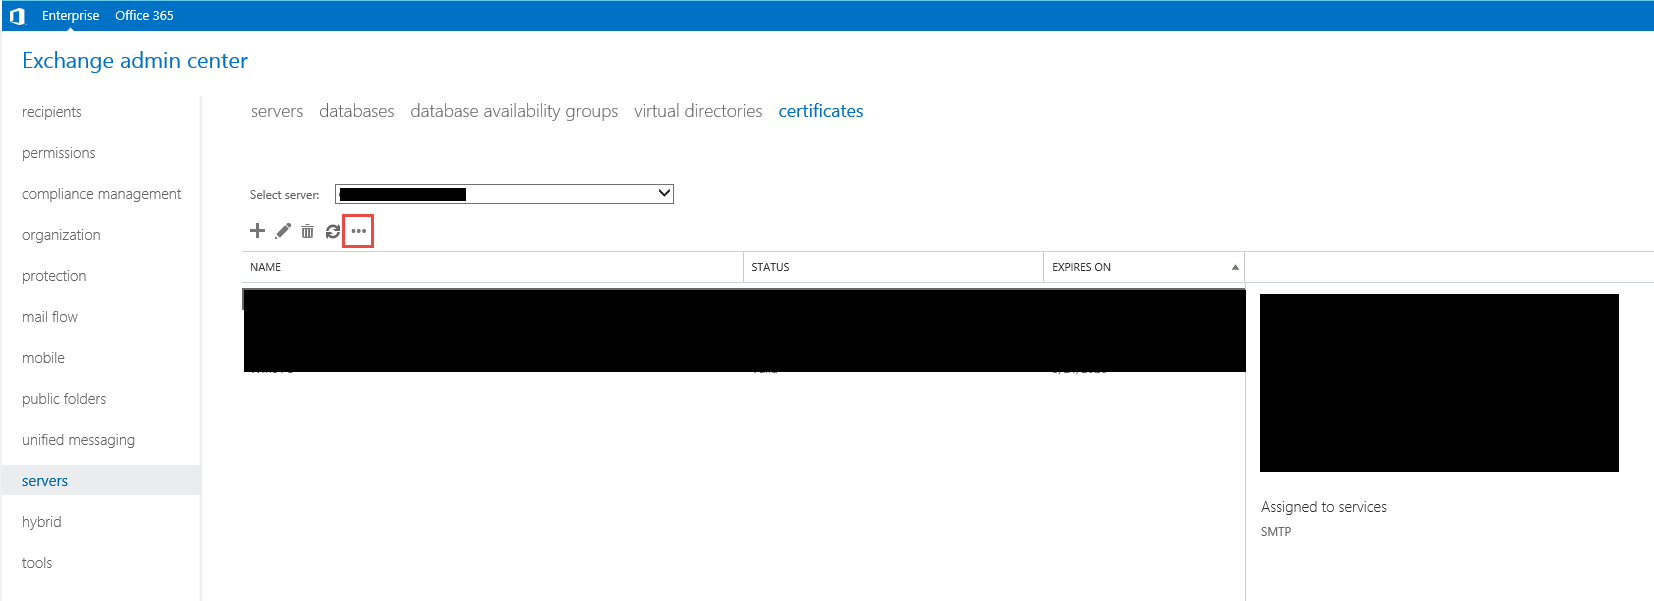
In the EAC, click on Servers on the left and then Certificates on the top right. You will see the … option, click it and then select “Import Exchange Certificate”.
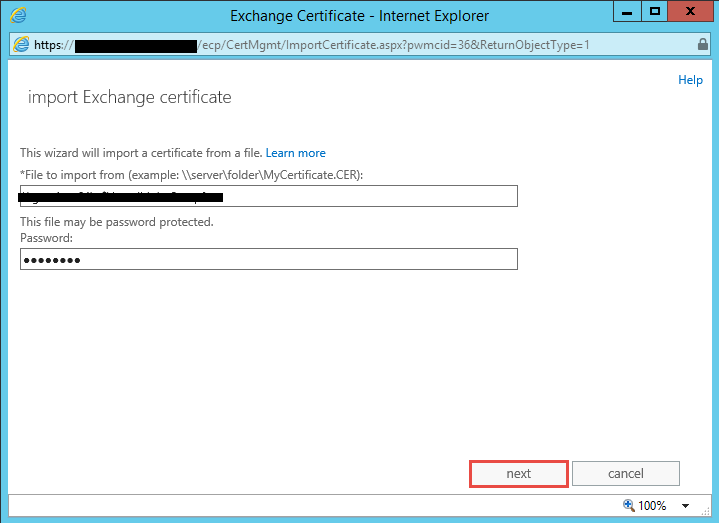
A new window will open, enter in the location where your new SSL certificate is located and then enter in the password. Once done click the next button.
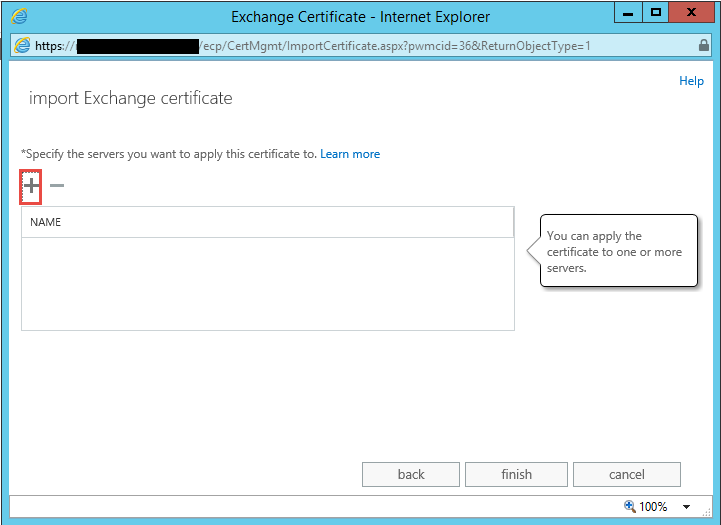
The next window allows you to select servers, here is where you can select all your CAS servers for example, click the + button.
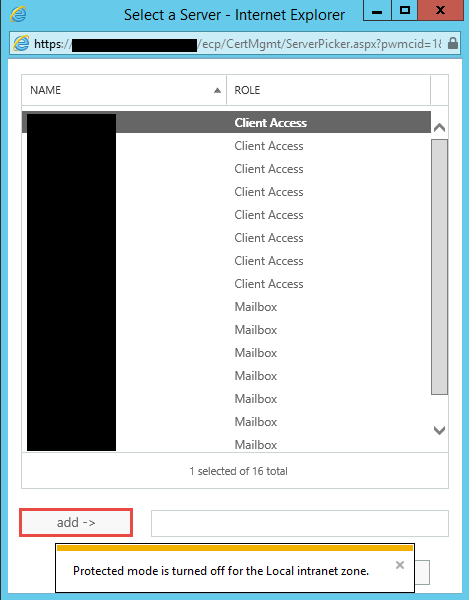
Once you have clicked the + button, a window as shown above will appear. Click on the servers you want and then click the add button and then okay to go back to the previous window.
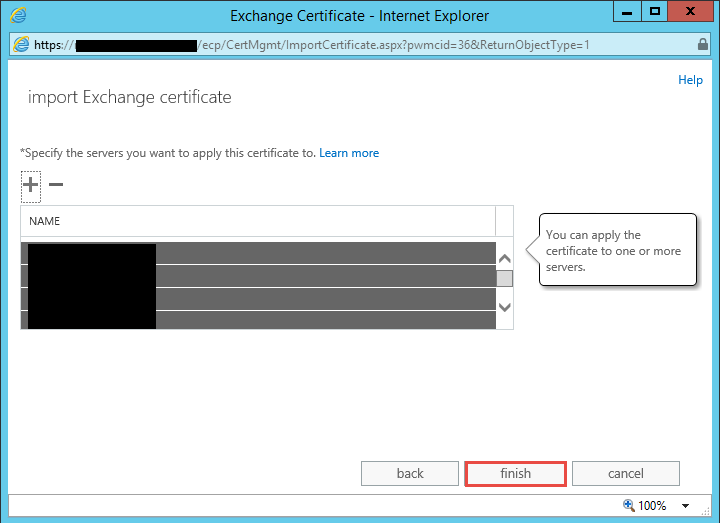
The window above will show the servers you selected, now click finish to complete the import on the servers you selected.
Assigning Services to a list of servers using PowerShell:
Firstly we need to find the Thumbprint of the new certificate, Open up the Exchange Management Shell and run the following command:
- Get-ExchangeCertificate -Server ServerName | fl
Look for the thumbprint line and copy the value.
Still within the EMS, we will enter in 2 commands below:
- $ServerList = “cas01”, “cas02”, “cas03”, “cas04”, “cas05”
- $ServerList | ForEach {Enable-ExchangeCertificate -Thumbprint <Thumbprint> -Services “SMTP,IIS” -Server $_ -Confirm:$False -Force}
Wait for a few minutes while the command finishes. Now if you go back to the EAC or run the command we first ran you will see the services assigned to the cert.
Hope it helps.
