This guide shows you how to enable anonymous access on the Default Frontend Receive Connector to allow your Exchange 2013 Server to receive mail from the internet.

Open up the Exchange Admin Center:
Enable anonymous access on a receive connector in exchange 2013 to receive external mail
Enable Anonymous Access on a Receive Connector in Exchange 2013 to receive external mail 1
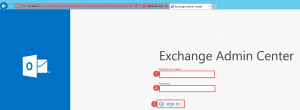
  • Step 1 -> Enter in the user that has access to create databases. E.g. Domain\username
  • Step 2 -> Enter in the password
  • Step 3 -> Click Sign in
Enable anonymous access on a receive connector in exchange 2013 to receive external mail
Enable Anonymous Access on a Receive Connector in Exchange 2013 to receive external mail 2
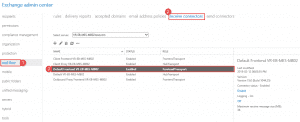
  • Step 1 -> Click on Mail Flow
  • Step 2 -> Click on Receive Connectors
  • Step 3 -> Click on the Default Frontend <Server Name>
  • Step 4 -> Click the Pencil to edit the connector.
Enable anonymous access on a receive connector in exchange 2013 to receive external mail
Enable Anonymous Access on a Receive Connector in Exchange 2013 to receive external mail 3
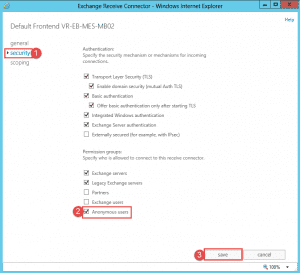
  • Step 1 -> Click on security
  • Step 2 -> Check the checkbox next to Anonymous users.
  • Step 3 -> Click Save.

Hope it helps.

[yasr_overall_rating]

    wpChatIcon

    Discover more from COLLABORATION PRO

    Subscribe now to keep reading and get access to the full archive.

    Continue reading