This guide shows you how to uninstall Exchange 2010 from a server.
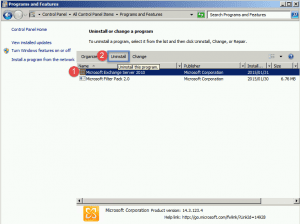
- Open up the control panel -> Programs and features.
- Click on Microsoft Exchange Server 2010 and then click the Uninstall Button.
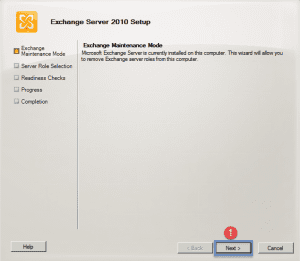
- Step 1 -> Click Next to start the process.
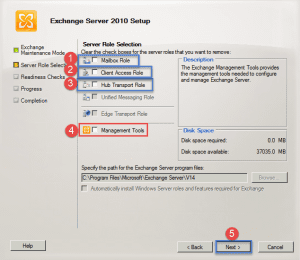
- When the screen above shows the 4 roles will be checked.
- Step 1 -> Uncheck the checkbox Mailbox Role.
- Step 2 -> Uncheck the Client Access Role.
- Step 3 -> Uncheck the Hub Transport Role.
- Once this is done you can now uncheck the Management Tools role (Step 4)
- Step 5 -> Click Next.
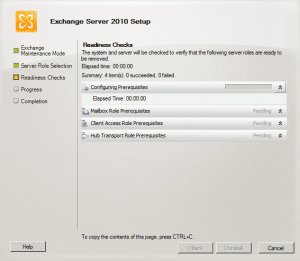
- Readiness checks in progress.
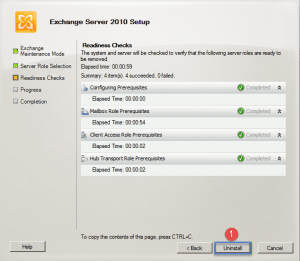
- Once the readiness checks are complete, you can click the Uninstall button (Step 1).
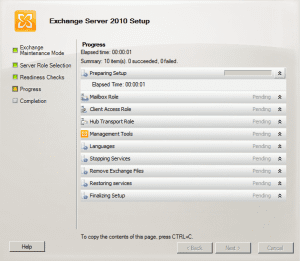
- Progress screen.
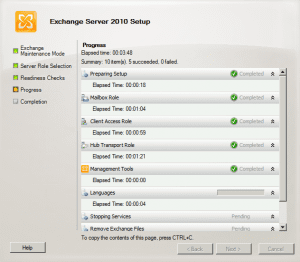
- Progress screen continued.
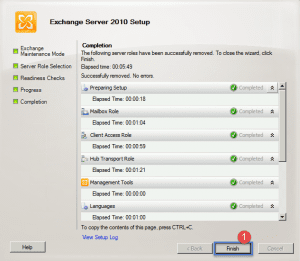
- Uninstall is complete.
- Step 1 -> Click Finish.
- Reboot your server.
Hope it helps.
